


Tag: Email
How To Set Your Default Address in cPanel
How To Set up an Autoresponder in cPanel
How To Set up Email Forwarding in cPanel
How To Enable Spam Protection in cPanel
II. How To Create an Email Account in cPanel
III. How To Set Your Default Address in cPanel
IV. How To Set up an Autoresponder in cPanel
V. How To Set up Email Forwarding in cPanel
VI. How To Set up Email Filters in cPanel
VII. How To Enable Spam Protection in cPanel
VIII. How To Add an MX Entry in cPanel
IX. How To Use Webmail from Within cPanel
X. How To Change Your cPanel Password
XI. How To Update Your Contact Information in cPanel
XII. How To Change Your cPanel Theme
XIII. How To Change the Primary Language in cPanel
XIV. How To Add a Record With the DNS Zone Editor in cPanel
XV. How To Back up Your Website in cPanel
XVI. How To Use the Disk Space Usage Tool in cPanel
XVII. How To Create Additional FTP Accounts in cPanel
XVIII. How To Password Protect a Directory in cPanel
XIX. How To Use the IP Blocker in cPanel
XX. How To Set up Hotlink Protection in cPanel
XXI. How To Create a Subdomain in cPanel
XXII. How To Create an Addon Domain in cPanel
XXIII. How To Create a Domain Alias in cPanel
XXIV. How To Set up Domain Redirects in cPanel
XXV. How To Create a MySQL Database in cPanel
XXVI. How To Use the Index Manager in cPanel
XXVII. How To Create Custom Error Pages in cPanel
XXVIII. How To Set up a Cron Job in cPanel
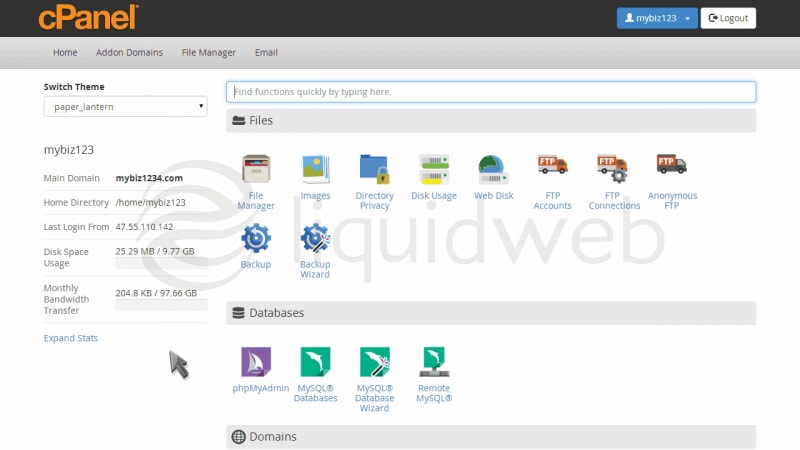
- This tutorial assumes you’ve already logged in to cPanel, and are starting on the home screen.
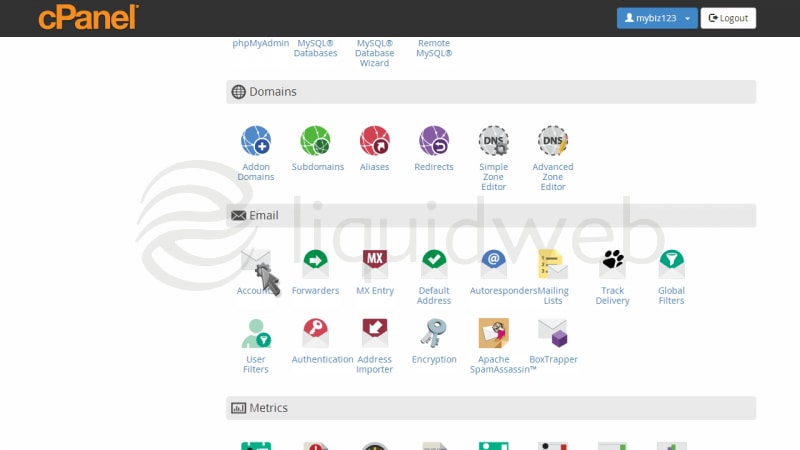
- Now let’s create a new email account.
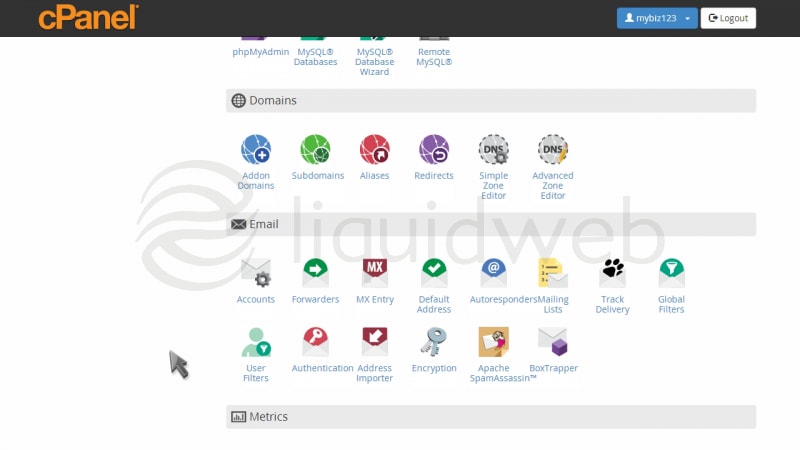
- Click the Email Accounts icon.
- Enter the email address you want to create, and assign it a password.
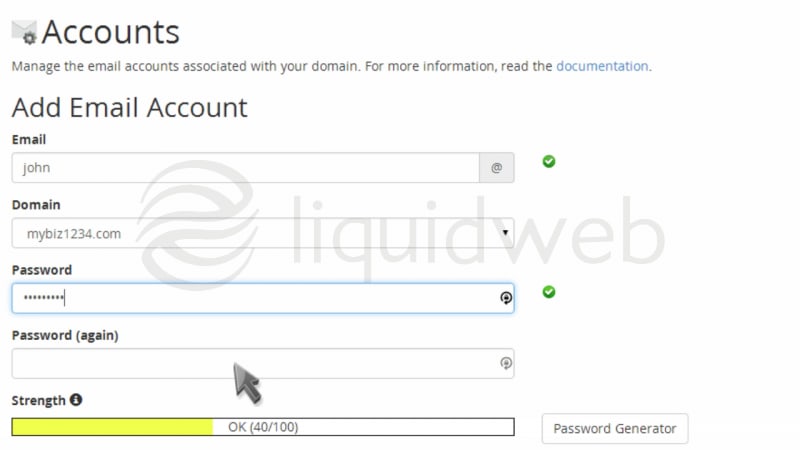
- Set a mailbox quota for the account if you wish.
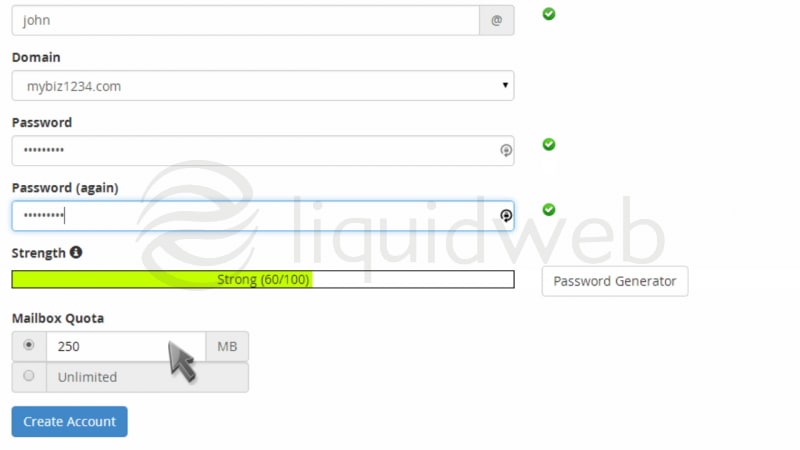
- Then click “Create Account”.

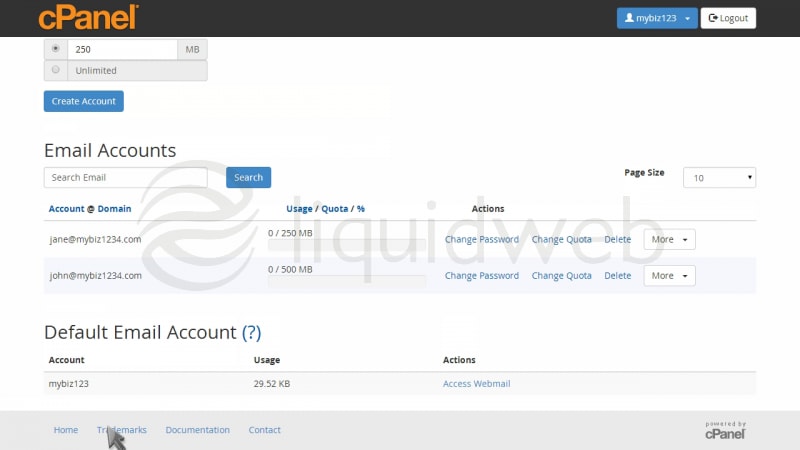
- That’s it! The new email account has been successfully created.

- From the Email Accounts screen you can access webmail for the account, change its password, change the quota, or even delete the account.
How To Set Up Email in Outlook 2016 for Mac
Pre-Flight Check
- These instructions are intended specifically for setting up a new email account in Microsoft Outlook 2016 for Mac OS X 10.11.3.
- If you have not already created an email address on your server, visit our New User Tutorial: Creating E-Mail Addresses in cPanel.
- If you need to configure your email address in Outlook 2016 for Microsoft Windows, see How To Set Up Email in Outlook 2016. For other mail clients, check out our tutorial on setting up other email clients.
How to Migrate Your Email Using IMAP
Pre-Flight Check
- This article is intended specifically for transferring email between two different accounts.
- The email accounts can be on the same server or on two different servers, and it makes no difference whether either or both of the accounts are hosted on your own server or through a web service such as Gmail, Yahoo, etc.
- This article refers to a source email account and a destination email account:
- Source refers to the email account containing the messages you want to sync to another account. In this example, we’re using sample@example.net as the source account.
- Destination refers to the email account that to which you want to sync emails from the source account. In this example, we’re using sample@example.com as the destination account.
- This article covers the procedure in the Thunderbird mail client, which is available for computers running Linux, Windows, and Mac OS X. For your convenience, we have comprehensive guides to help you set up a new email account in any of the following mail clients: Thunderbird, Apple Mail, and Outlook 2016. To obtain specific connection settings for an email account on a cPanel server, you may refer to How To Set up Any Email Client.
Step #1: Add the Destination IMAP Account in Your Mail Client
If you use only Webmail or a mobile device to access your destination email account, or if you currently use POP3 for the account (learn more about the difference in account types at IMAP vs. POP3 Email), you will need to set it up in a desktop email client using IMAP in order to sync the messages. If you already have your destination email account (to which you’ll be transferring the emails) configured locally using IMAP in Thunderbird, Outlook, or Apple Mail, you can skip this step and proceed to Step #2.
How To Modify an Existing Email Account in Thunderbird
Pre-Flight Check
- These instructions are intended specifically for setting up an email account in Mozilla Thunderbird 38.3.0 on Mac OS X 10.11.1.
- While the steps should be similar across platforms and operating systems, they may not necessarily apply to older versions of Thunderbird.
- For help with general email account settings, see How to Set up Any Email Client.
You can edit an email account that already has been configured in Thunderbird, for example should you decide to switch between non-SSL and SSL settings or change the server’s connection port. You change the connection type between standard (non-SSL) and secure (SSL) by changing the hostname and port for the incoming and outgoing servers.
Our Sales and Support teams are available 24 hours by phone or e-mail to assist.